Quantity Breaks
Offer tiered discounts that reward larger purchases. Customers get better pricing as they add more items to their cart.
This is one of the most effective and proven ways to increase your store’s average order value. It’s especially useful for clothing stores, where customers often buy multiple variations of the same item—such as different t-shirt colors—while receiving a small incentive through a quantity-based discount.
1. Add the "Quantity Breaks" block
When installing the theme, the Quantity Breaks block is usually enabled by default. At first, it may not display anything until the setup steps below are completed.
If the block is not visible:
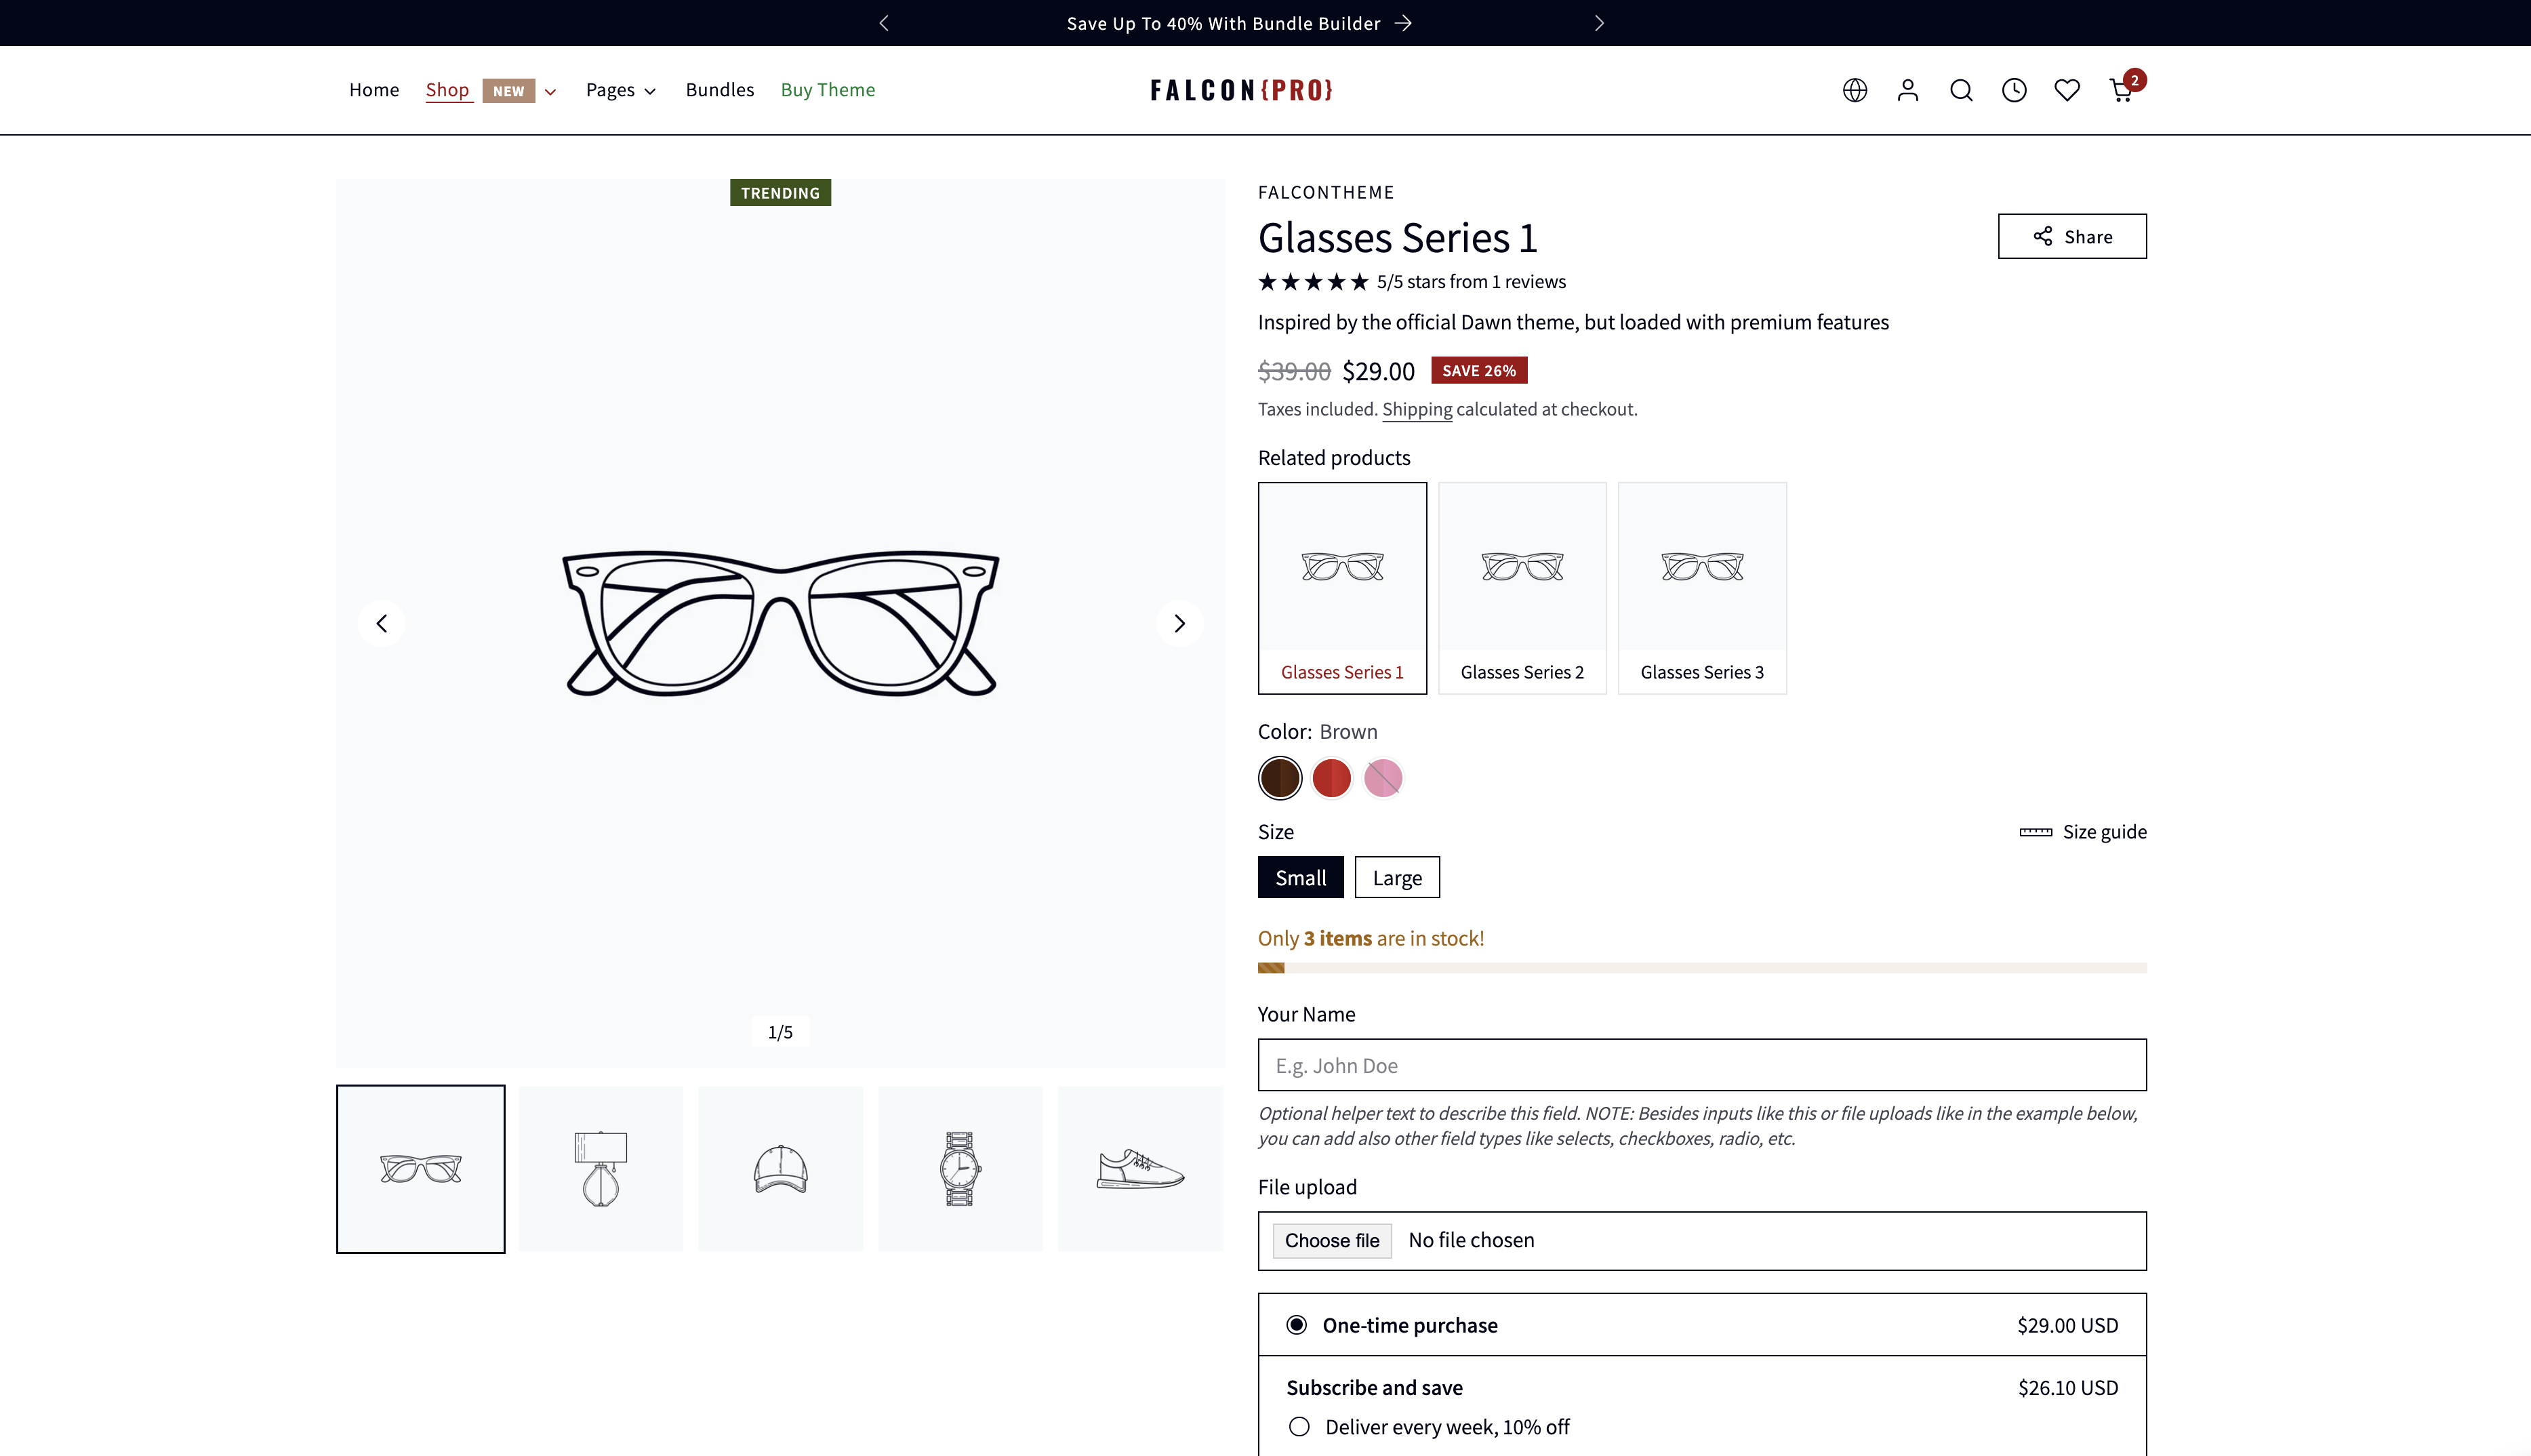
- Open the main Product section in the theme editor.
- Add the Quantity Breaks block, as shown in the screenshot below.
Once added, you can start adjusting the block’s settings. Next, we’ll go through the most important options to configure.
2. Configure it
This feature allows you to set up up to three quantity breaks, as shown in the screenshot above. If you prefer to use only two, simply adjust or disable the Quantity setting under the Quantity Break #3 group.
Each group (up to three total) can be configured independently. In most cases, it’s recommended to keep the first group set to a quantity of 1 with no discount, as this acts as the base option.
Key settings per group
- Quantity
Defines how many items the customer must purchase. This is also the number of items that will be added to the cart. - Discount type
Choose between Percentage or Value.- Percentage
Use the Discount % setting to define the discount.
&#xNAN;Example: Quantity 2 with a 10% discount means customers receive 10% off when buying two items. - Value
The option below changes to Discount value, allowing you to offer a fixed discount instead of a percentage.
&#xNAN;Example: $10 off when purchasing two items.
- Percentage
- Title & badge text
Customize the title and optional badge text displayed for each quantity option. - Selected option
Mark this group as the default, pre-selected option on the product page.
⚠️ Only one group should have this enabled.
Important note
The Quantity Breaks block itself is purely visual and does not apply any pricing changes on its own. To ensure discounts are actually applied and visible in the cart, you must configure the corresponding Discounts, which we’ll cover in the next step.
3. Create discounts
As mentioned above, you must create Automatic Discounts for each quantity break group that offers a discount. For example, if your first group is a base option with no discount, you’ll only need to create automatic discounts for the remaining groups.
To create an automatic discount:
- From your Shopify admin, go to Discounts.
- Click Create discount and select Automatic discount.
Important settings
Make sure the following settings match your Quantity Breaks configuration:
- Method
Select Automatic (not manual), so customers don’t need to enter a discount code. - Discount value
Choose Percentage or Fixed amount, depending on what you selected in the Quantity Break group settings. Enter the discount percentage or value that you have set above. - Minimum purchase requirements
Select the Minimum quantity of items and enter the same Quantity value used in the corresponding Quantity Break group.
You can adjust the remaining settings (such as applicable products, dates, or usage limits) as needed for your store.
Once set up correctly, customers will see the discount automatically applied in their cart when they select a quantity break option.
4. Verify the result
Visit your product pages and confirm that the Quantity Breaks are displayed correctly and function as expected. Be sure to test each quantity group by adding it to the cart and verifying that the correct discounts are automatically applied.
Below is an example of how this block should appear on your store.